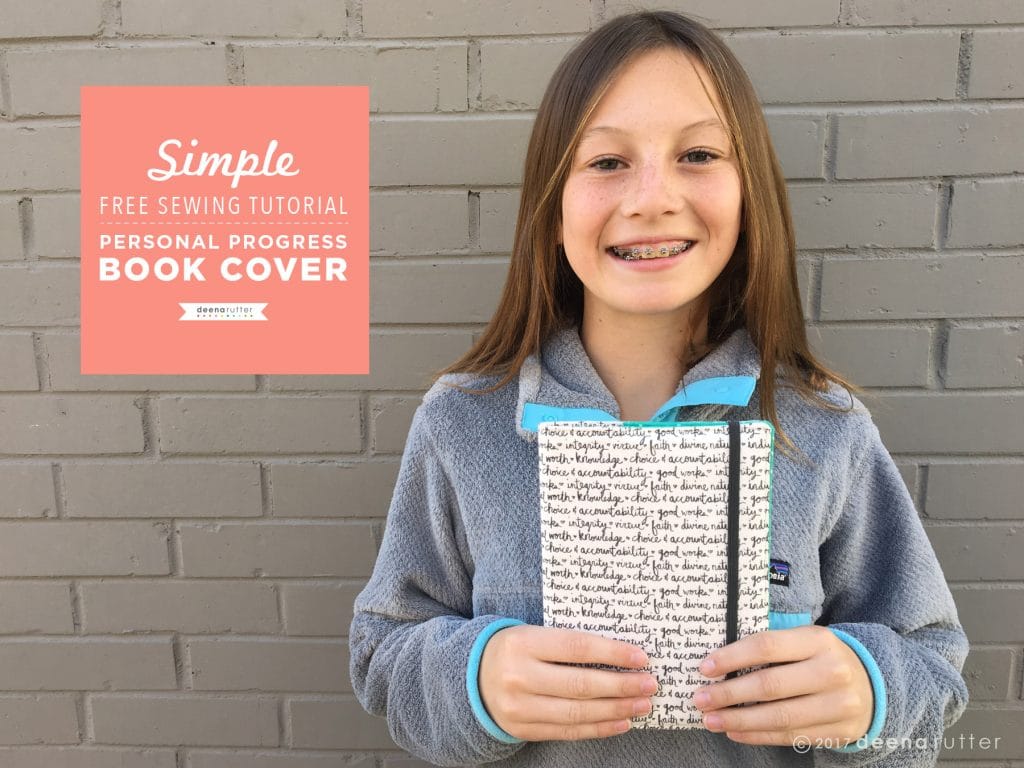
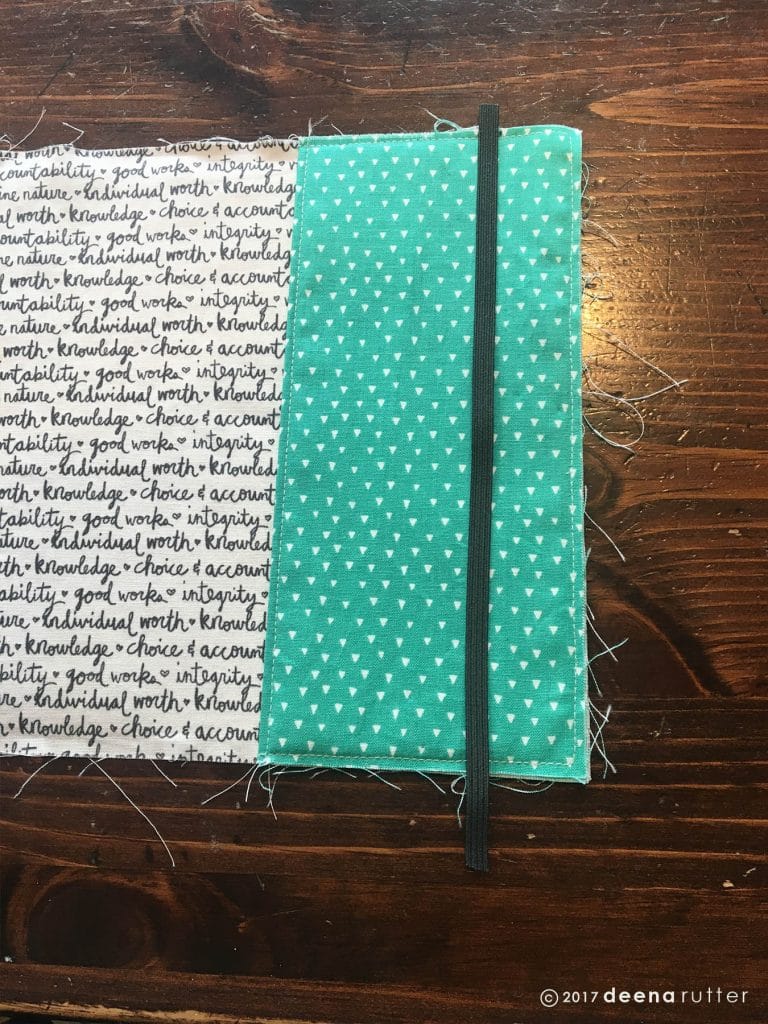
Welcome! Today we are going to share with you how Kate made this sweet little cover for her Young Women’s Personal Progress book! It was perfect timing that my fabric line Heart and Soul came out the same week that Kate turned 12 and entered into the LDS Young Women’s program. If you want to learn more about the goals that Kate is setting throughout her teenage years, check it out here. And If you love faith based products, then you need to take a look at seekgoodworks.com
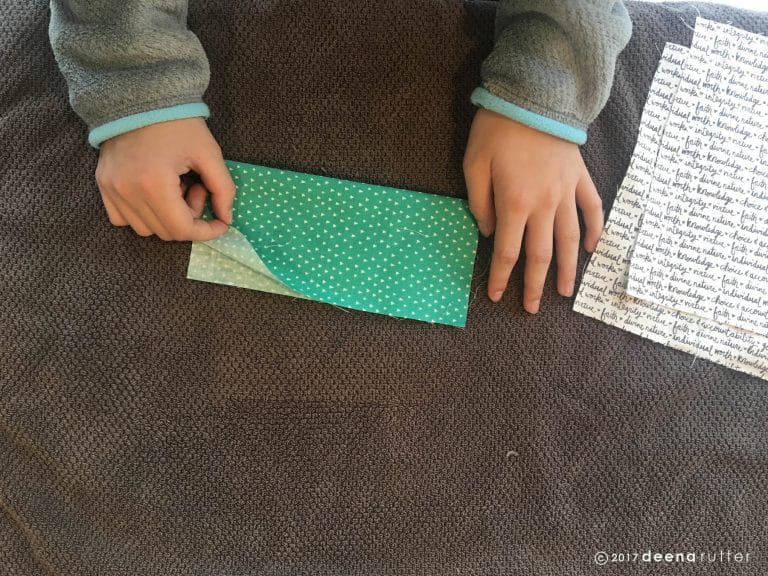
The Heart and Soul collection is a fun, colorful collection with faith-based ideas and quotes. The fabric Kate used for the cover talks about some of the values she is learning about at home and in the Young Women’s program. I hand wrote this print that she used on the cover and used it as a fabric design. It’s my favorite print in the collection…and I just LOVE the black and white!
Kate has been sewing with my sister, Shana (aka State of Muse) for a couple of years now. I love that Shana is helping Kate gain an appreciation for creating new and beautiful projects. I know Kate feels a sense of accomplishment when she follows through to the end of a project.
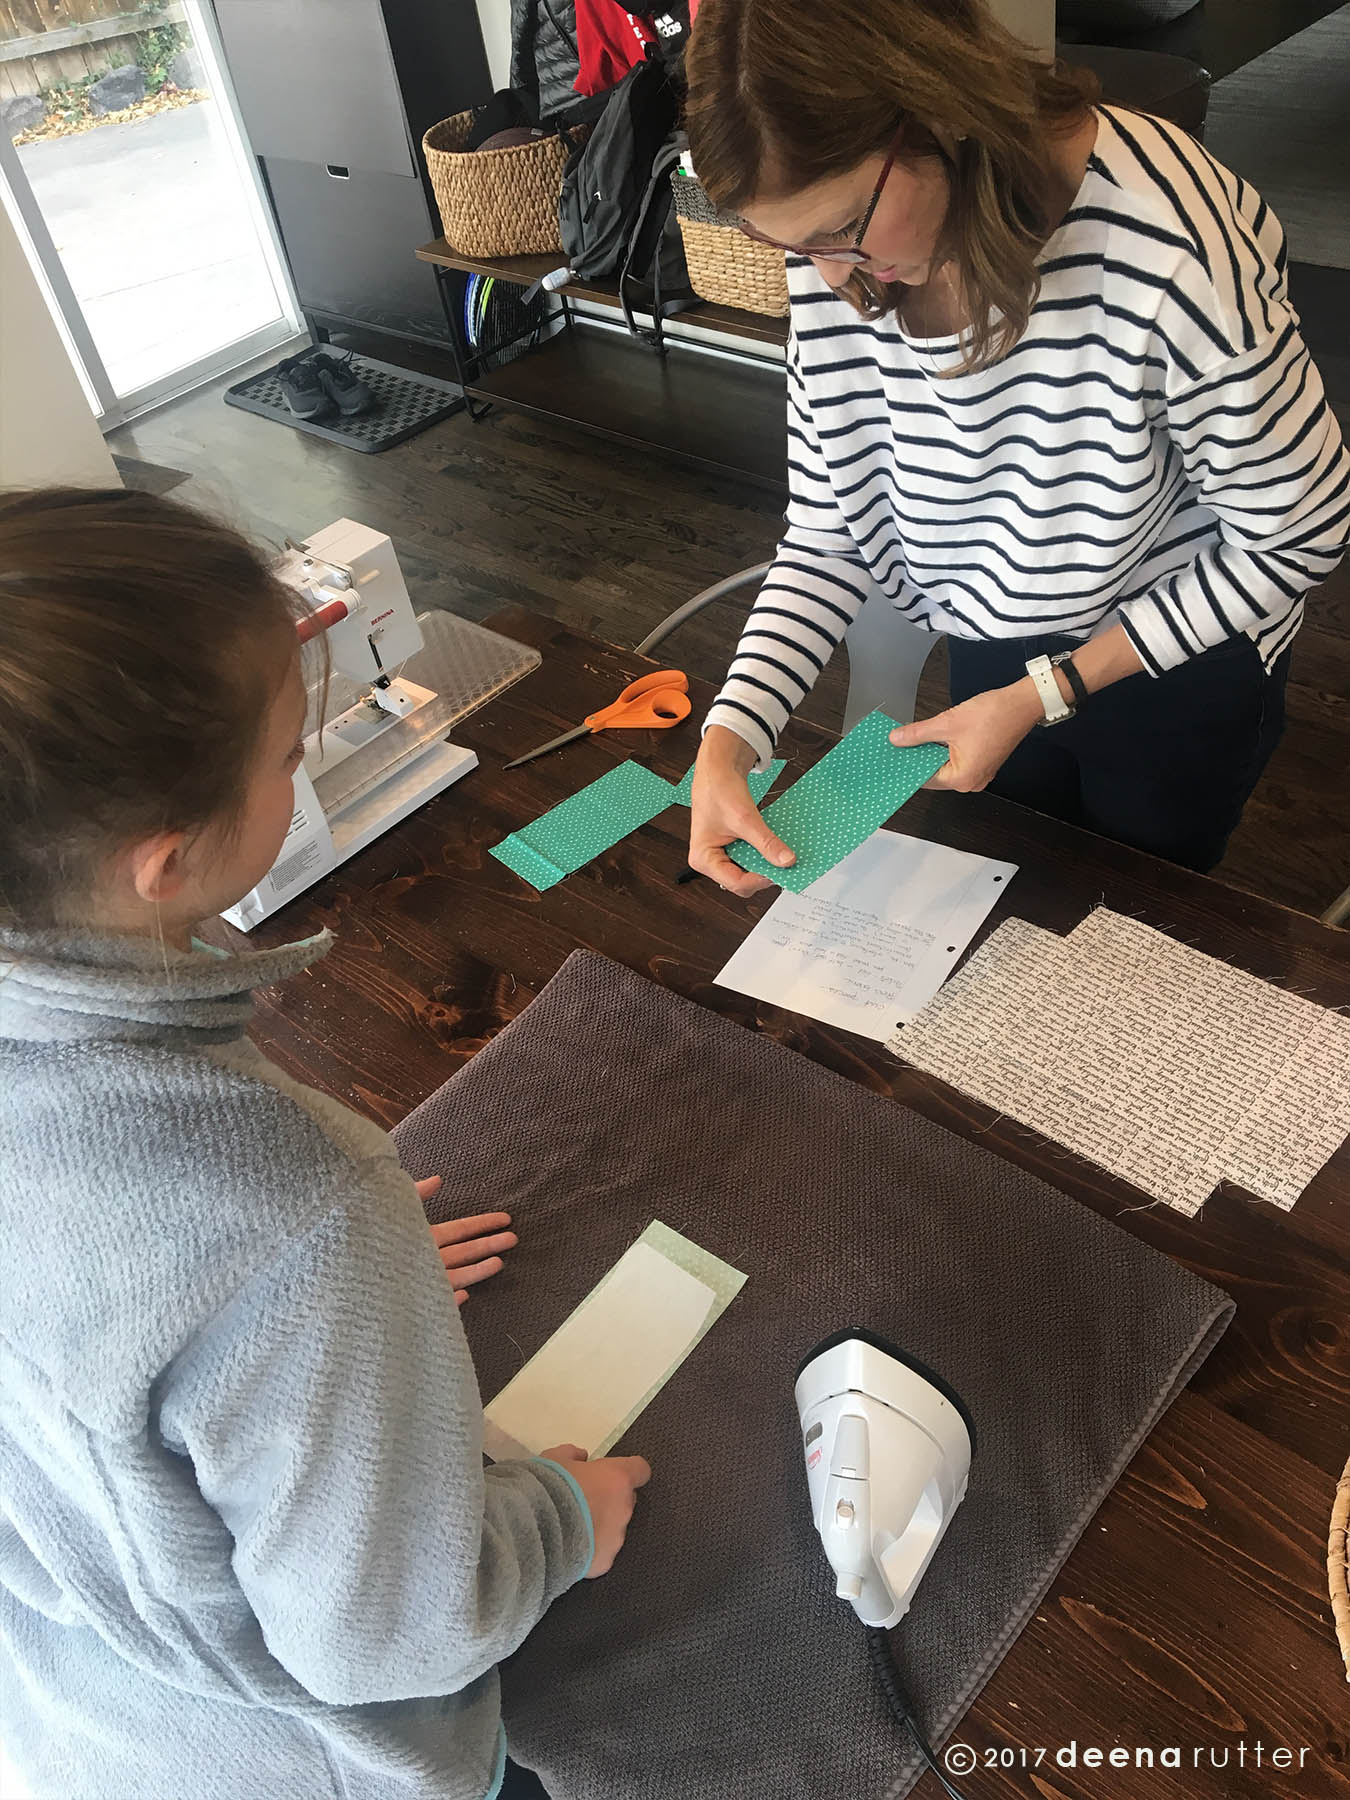
Well, the good news about the notebook cover, is they did it in about an afternoon! Thanks to Shana and Kate, now on with the tutorial!
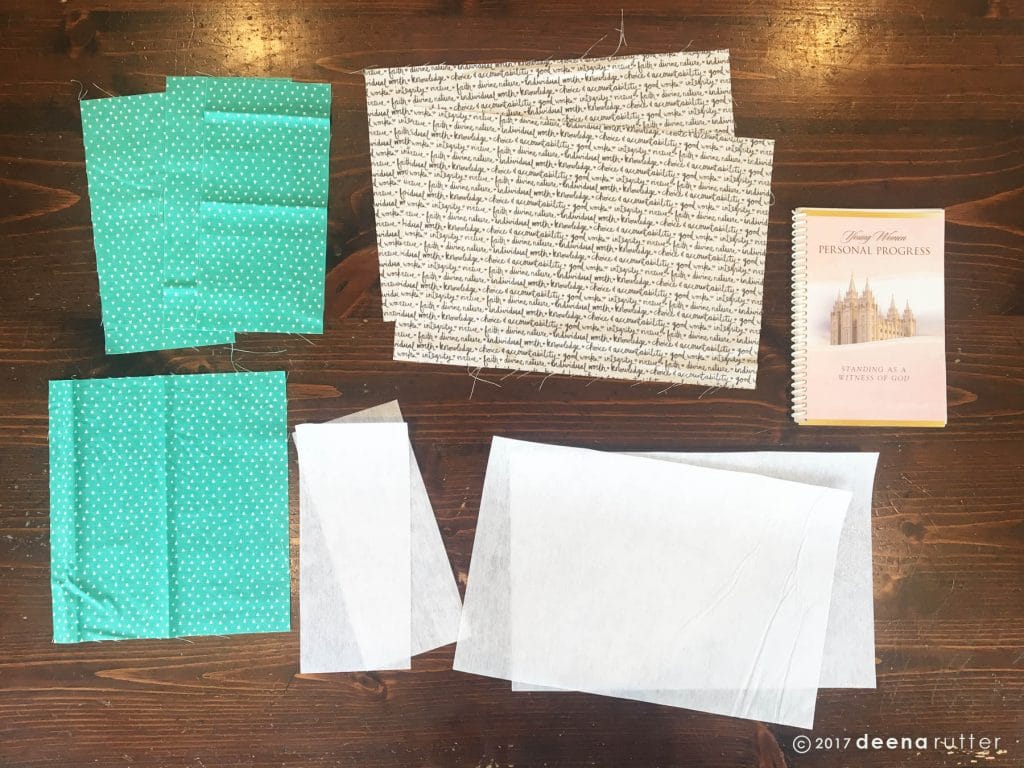
Supplies:
2 fat quarters of coordinating fabric
1/4 yard iron-on interfacing
9.5 inches of 1/4” elastic
Basic sewing tools & iron
Cut fabric and interfacing:
Cover and Lining:
Cut 2 pieces – 8 1/4” tall x 12” wide
Pockets:
Cut 1 piece – 8 1/4” x 7.5”
Cut 3 pieces – 8 1/4” x 4”
Interfacing:
Cut 2 pieces – 8” x 11.75”
Cut 2 pieces – 8” x 3.75″
Cut 1 piece – 3.75” x 3.75”
This fabric cover will fit any 5″x 7″ notebook.
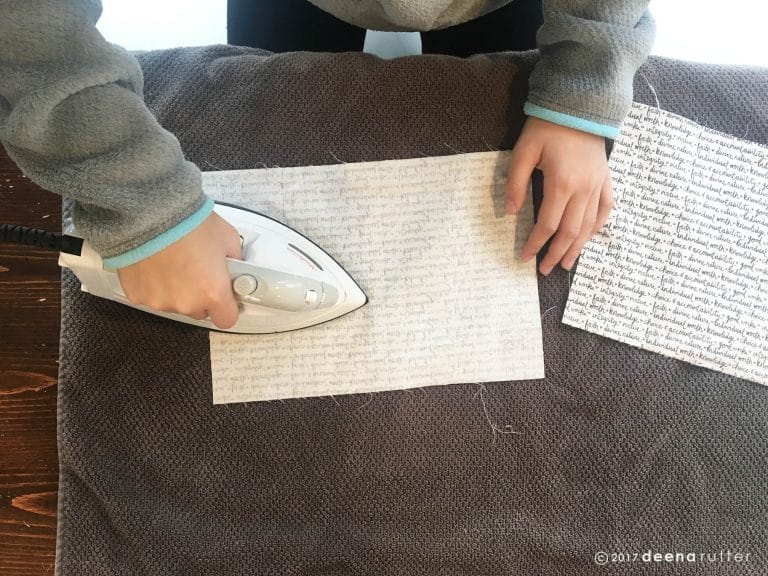
Prepare fabric for sewing:
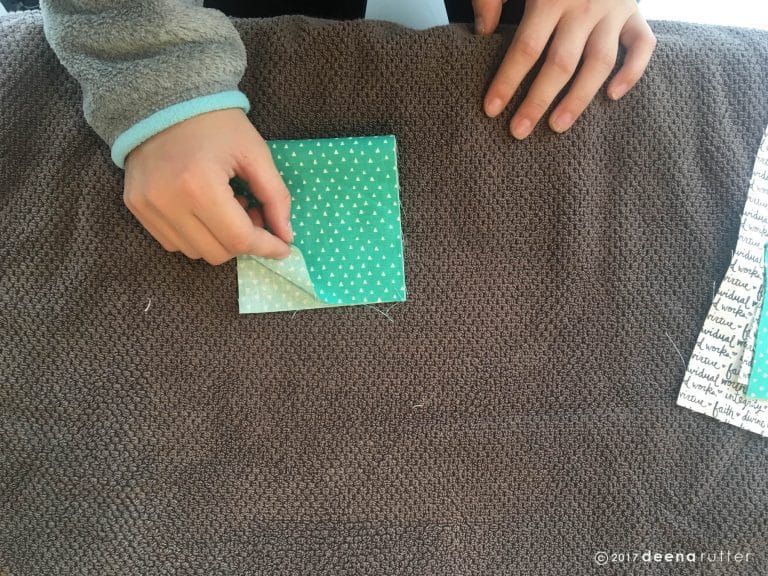
Press fabric. For the right pocket, fold the 8 1/4” X 7.5” in half (8 1/4” X 3.75”). Press.
For the pen slot pocket, fold a 8 1/4” X 4” piece in half (4 1/8” tall X 4”). Press.
Press the iron-on interfacing (following manufacturer’s instructions) to the wrong sides of the lining and cover fabrics. I trim the edges of the interfacing just slightly before ironing to reduce the bulk in the seams. Place the interfacing pieces according to size inside of the folded pockets and press. Press the remaining interfacing piece to one of the 8 1/4” X 4” pocket pieces.


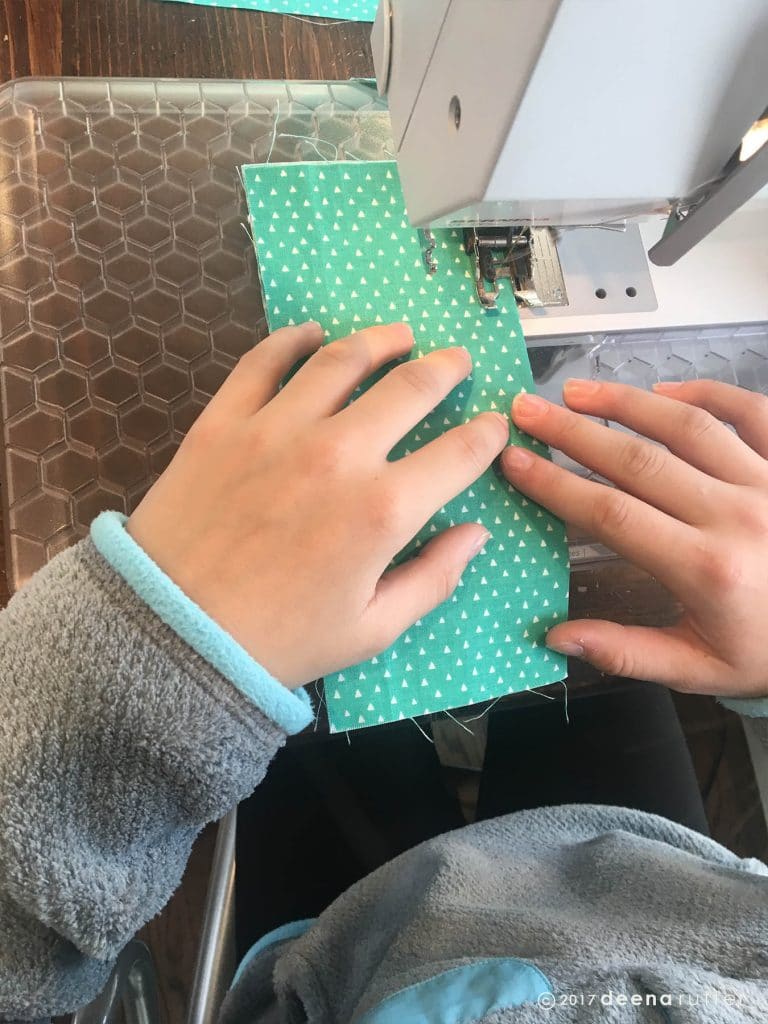
Top-stitch along the folded edges of the tall pocket and the pen pocket.
Creating pen slot and pocket:
Place pen pocket on the right side of the tall pocket piece that you put the interfacing on. Baste along edges to keep the pen pocket in place. Stitch down the center of the pen pocket, creating 2 pen slots. You can use tape as a guideline for your stitches. Starting at the bottom of the pocket, stitch to the top of fold. Keeping needle down in fabric, pivot and stitch back down to the bottom, right on top of previous stitches. Attach remaining pocket piece, RST, stitching along right raw edge with the pen slot piece on the bottom. 1/4” seam allowance. Press right sides out and topstitch along the fold you just created.You should now have 2 tall pockets and the outer and lining fabrics remaining.


Assemble Cover:
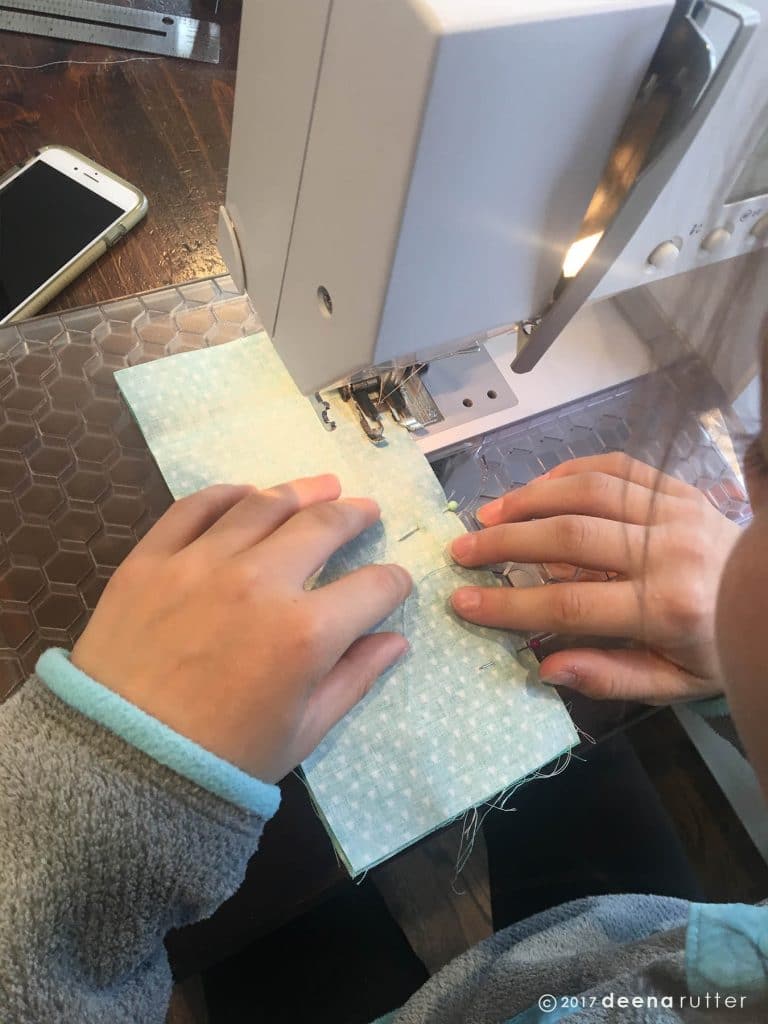
Place lining right side up. Place pocket on right and the pen pocket on left. Baste all around the raw edges. Mark 1” for the left raw edge along the top and bottom for placement of the elastic.


Attach the elastic by sewing it in place where marked. The elastic should be “loose” so it will wrap around the cover once all sewn together.
Place the outer fabric on top of the lining with pockets and elastic, RST. Pin well along the raw edges being careful to keep the elastic out of the side seams. Leave a 4” opening along the bottom for turning. Stitch around the cover with 1/4” seam allowance. Trim corners carefully. Turn right side out. Press. Fold in the edges of the opening. Pin and topstitch. I start stitching at the elastic along the top with the elastic BEHIND the presser foot. Stitch all the way around and keep the elastic out of the way as you finish topstitching. Clip threads and press in half.


Ta-dah!!! You did it!!!

Come back soon! We will be posting more tutorials made with the Heart and Soul line, including these amazing 56″x66″ Panels! Get them before they disappear!


Heart and Soul Panel in Aqua
